How to Rip Your First 4K Blu-ray
What you actually need
A UHD Blu-ray drive, a computer with enough storage, and a program called MakeMKV. The drive is the only piece of hardware most people don’t already have.
UHD-capable drives have gotten harder to find over the past year. Pioneer exited the optical drive business, and the internal LG drives that collectors relied on for years are out of production. The good news is there are still several options that work, and the community has figured out exactly which ones to buy.
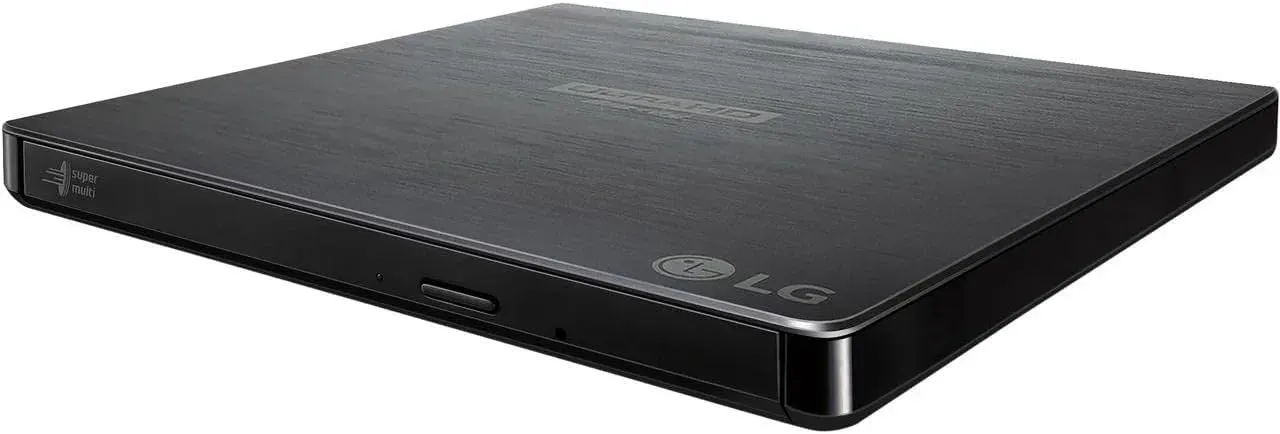
If you want an external slim drive (most people start here), the LG BP60NB10 is the current community pick. It’s USB 3.0, bus-powered, and the easiest of the slim LG drives to flash for UHD ripping. Available at Amazon and Micro Center. The LG BP50NB40 is the same mechanism over USB 2.0 and available at Best Buy, usually for a bit less. Either one gets through a 4K disc in about 45 minutes. The Verbatim 43888 is the same BU40N drive inside a Verbatim shell if you find it in stock.
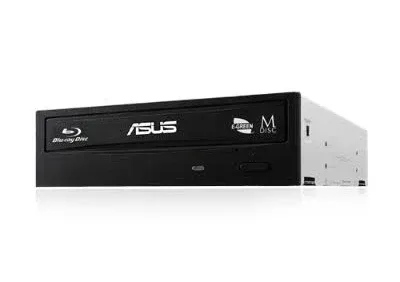
If you have a desktop PC, the ASUS BW-16D1HT is still in production and available at Amazon, B&H, and eBay. Internal 5.25” SATA drive. The community workhorse. People on r/makemkv report ripping thousands of discs on these without failure. Needs a firmware flash, same as the LG slims.
All of these drives need a one-time firmware flash before they can read UHD discs. The flash unlocks LibreDrive mode, which is what MakeMKV uses to decrypt 4K content. The process varies by drive but is well documented on the MakeMKV forum. We cover the full process in our drive flashing guide.
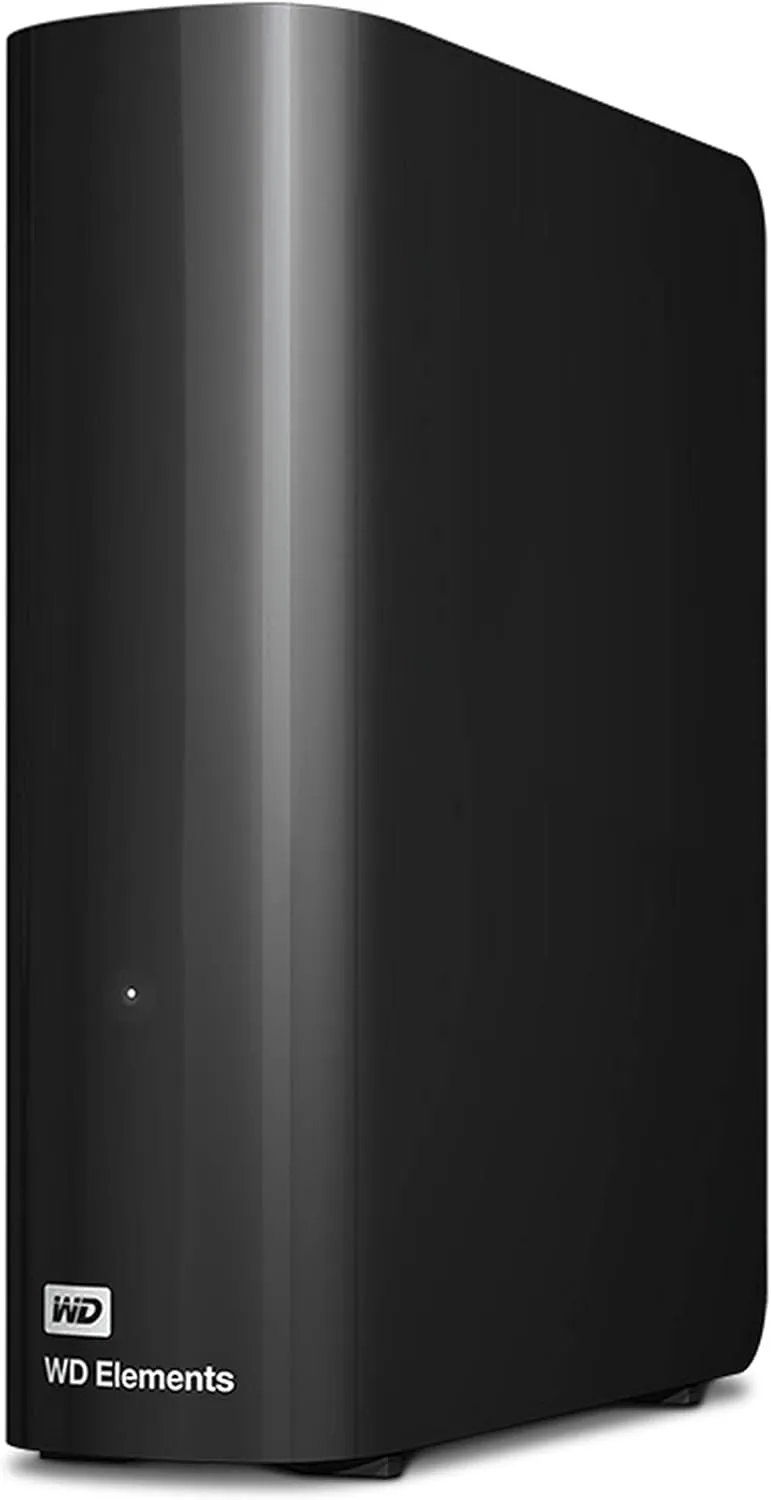
Either way, make sure you have at least 100 GB of free storage before you start. A single 4K rip runs 50 to 80 GB depending on the film, and longer films or IMAX presentations can push past 90 GB. If you plan to rip more than a handful of discs, a dedicated external drive like the WD Elements Desktop 20TB is the easiest starting point.
Setting up MakeMKV
Head to MakeMKV and download the installer for your operating system. Windows and macOS installers are on the download page. Linux is supported too, but the setup is more involved and lives on the forum instead.
Install it and open it up. MakeMKV has been in “beta” since roughly 2010 and the beta version is free. It expires after 60 days, but downloading the latest version from makemkv.com resets the expiration date.
Your first rip
Put the disc in the drive. Open MakeMKV. You should see your drive listed with a disc icon. Click it.
MakeMKV scans the disc structure, which takes a minute or two. When it finishes you’ll see a list of titles on the left side of the window.
Most discs have multiple titles. The main feature is usually the largest one, typically 50 to 80 GB for a 4K film. Shorter titles are trailers, menus, or bonus features. If you only want the movie, uncheck everything except the largest title.
Something to be aware of here. Some discs use multiple large titles as copy protection, where several titles look like the full movie but only one is real. This is more common on standard Blu-rays than UHD discs, but it does happen. Check the runtime against what you’d expect for the film and you’ll know which is which.
Choosing where to save
Before you click rip, set your output folder. Click the folder icon on the right side of the MakeMKV window and pick a destination with enough free space.
If you plan to use Plex or Jellyfin later, create the folder structure now. Make a folder with the film’s name and year in parentheses.
Movies/
  Nosferatu (1922)/
Media servers use this naming convention to match your file against online databases for posters, ratings, and metadata. Getting it right now saves you from renaming everything later.
Rip it
Click the MakeMKV button (the green arrow on the right side) and the rip starts. A full 4K disc takes 30 to 60 minutes on most drives, depending on film length and read speed.
You can use your computer while it runs. Just avoid anything that puts heavy load on the same drive you’re reading from.
When it finishes, you’ll have a single .mkv file in your output folder containing the full video, all audio tracks, and all subtitle tracks from the title you selected.
Verify the rip
Open the MKV file in VLC or whatever media player you prefer. Scrub through it, jump to a few different spots, and check that the video plays clean with audio in sync.
If it all looks good, your disc is backed up. The MKV file is a bit-perfect copy of the video stream from the disc with no re-encoding.
What comes next
You now have a large MKV file sitting in a folder. If all you wanted was a backup, you’re done.
If you want to stream it to other devices around your house, Plex and Jellyfin both play MKV files directly. If storage is a concern, Handbrake can compress the file at the cost of some quality. We will cover the full disc-to-Plex workflow in a separate guide.
The second rip takes about five minutes of actual work plus the wait for the drive to finish. Once MakeMKV is set up and your drive is recognized, it’s just insert, scan, select, rip, verify.